Lock Building Workshop
Preliminary write-up for a workshop idea by Chris Stratton:
Basic rundown:
Flat keys with no wards. Saw them to approximate shape and finish by hand with files, or put a key machine cutter in a lathe and use it like a key machine only turns the handwheels since there will be no original to duplicate. Lots of practice with finishing with files and measuring with calipers.
Cylinder plug from brass round stock. Use slitting saw (miniature circular saw blade) in mill to cut a keyway open along one side. Leave a narrow ring full width at the exterior end, turn down the body to a narrower diameter to insert in outer cylinder, turn a groove yet smaller on the interrior end for a retaining "E" clip. Mill or file flats just short of the retaining clip for the cam piece.
Outer cylinder from brass round stock: Center drill and drill to size in several stages - discussion on re-grinding drill bits for brass. Possibly bore or ream to final size. Counterbore outer end for the full-diameter ring at the end of inner cylinder.
Insert inner cylinder in outer, mount in fixture in mill vise with anti-rotation tab in keyway, use center (spotting) drill and then regular drill to drill holes for pin stacks perpendicular to the axis.
Either get a bulk pack of commercial pins and springs or settle on slightly large 1/8" diameter springs and make our own pins from steel or brass (commercial pins range form .095-.115 for common popular locks)
Slip a ring of thin wall brass tubing over the outer cylinder as a spring retainer, fix with locktite or solder or swage into a groove.
Saw, mill and file steel cam pieces to shape.
That should get a basic cylinder mechanism as often used in lock picking classes. A further refinemount could be making a padlock or other body from a block of steel, or stack of steel, plywood, or plexi laminations, 3d printing, etc... these would of course only be "privacy" grade locks.
Thoughts?
One limitation with machine shop classes is only one person can use a machine at a time, however this would have a diversity of operations and many handwork finishing steps so we could perhaps have a small group of people moving down the "assembly line" with their parts. May also be able to offload some less critical operations to portable sherline mill-lathe or drill press.
If the design described above is feasable and can by prototyped before maker faire having a few of them on our table as conversation pieces could be fun; of course people would be welcome to pick them. In theory picking is a function of imperfections in the lock; would be interesting to make one as carefully as possible, and also make one or two with intentionally poor fit, non-perpendicular pin bores, etc.
Prototype Success!!
This is the first attempt at machining a 5 pin lock plug and cylinder shell.
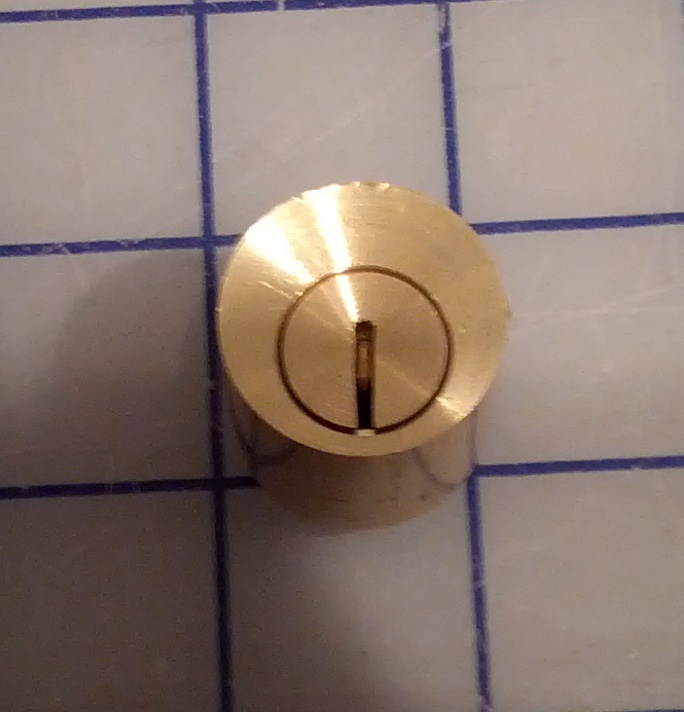
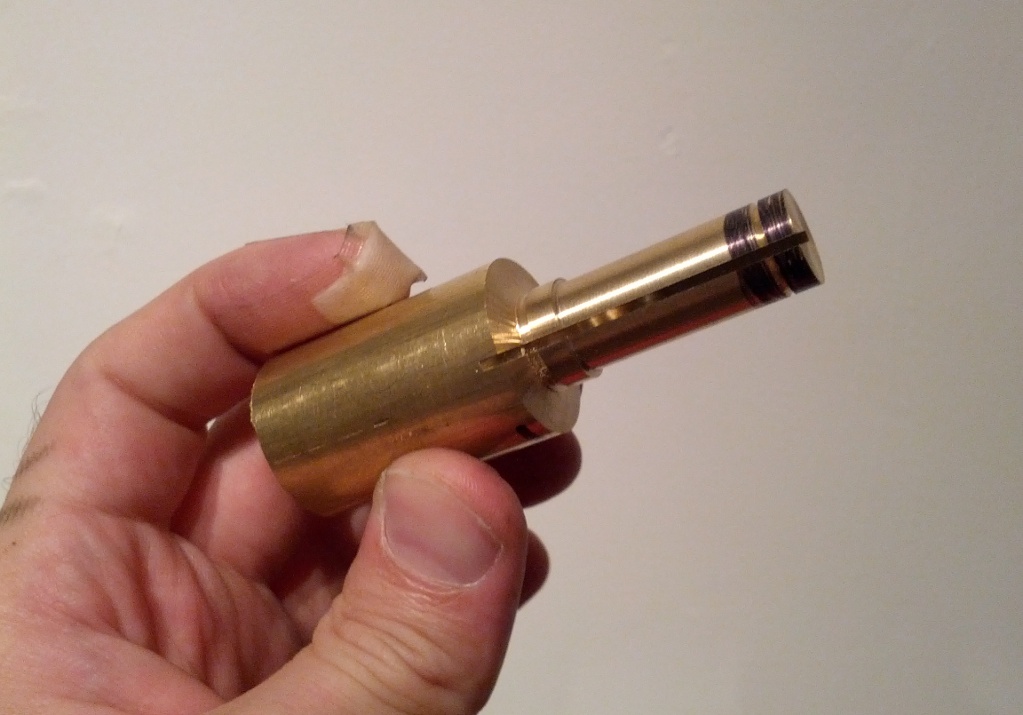
I started by cutting a ~3" piece of 1" diameter brass bar. One end which will be the inner plug cylinder is turned down to .500" with a larger diameter collar left on what will be the key end. While it is still attached to the section of full-diamter bar which will be the cylinder shell, a 2" diameter slitting saw blade is used to cut the keyway. After the keyway is slit, the plug cylinder can be separated with a hacksaw, then have the cut end cleaned up with a facing cut in the lathe.
(band aid is courtesy of the very strong magnet for mounting the dial indicator... it is completely ineffective at mounting the dial indicator where it can measure anything on either machine, but is a very effective pinching device!)
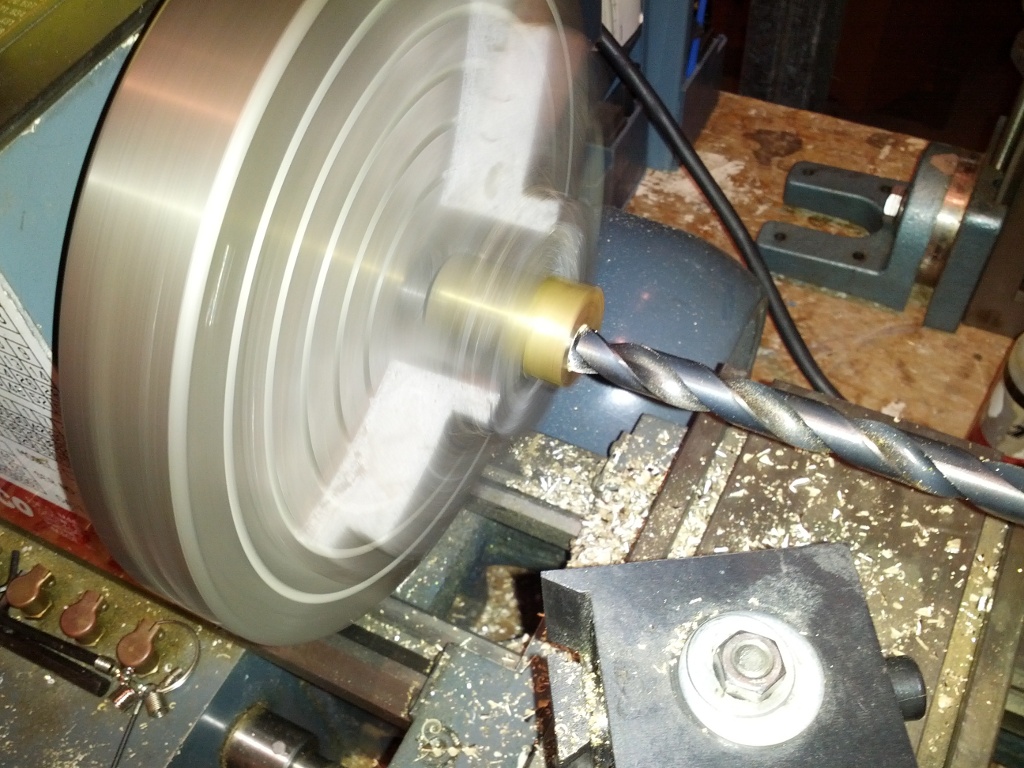
The four jaw chuck is used to hold the remaining stub of 1" bar 1/8" off center, so that the bore for the cylinder will be in the lower part of the shell, leaving more room for the pins and springs above. When drilling in the lathe, the work rotates while the drill is stationary. The hole was started with a small spotting drill, then drilled through with a 1/4" bit. Next a drill slightly smaller than the finished size was used, and finally the 1/2" target size. Ideally we would use a boring bar in the toolpost to finish to size.
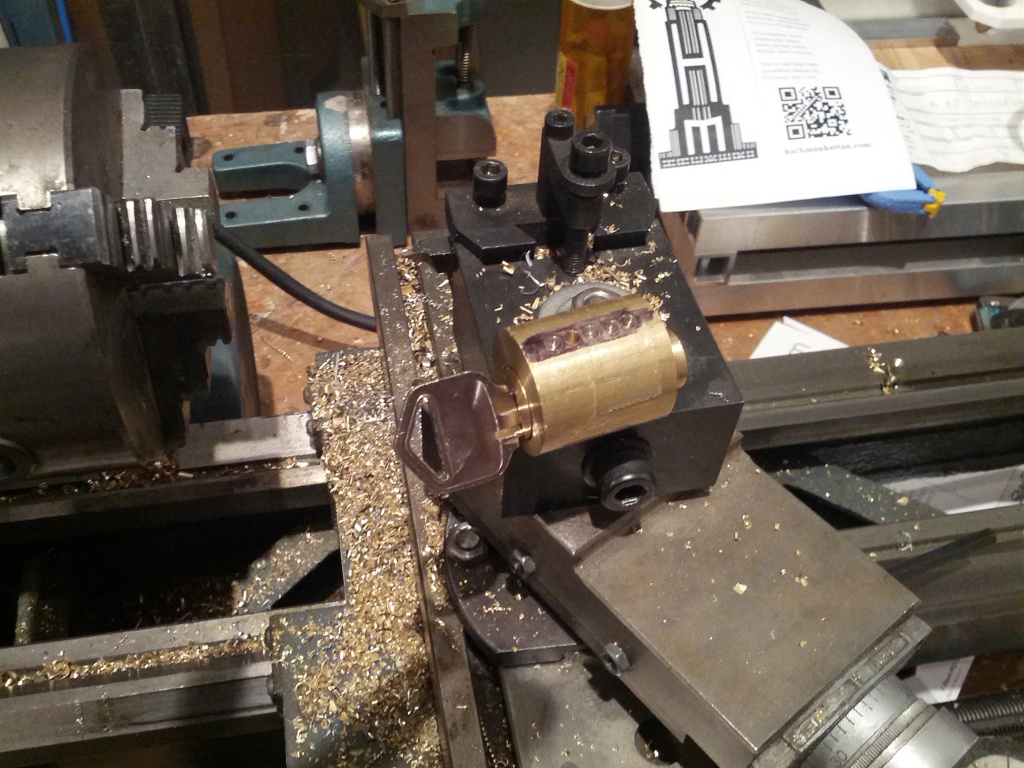
The complete lock mechanism, using pins and springs from a commercial cylinder (have not had time to turn 1/8" stock down the .115" to make our own pins yet). As our keyway is flat, the kwikset key had to be filed thinner to fit. For testing purposes, scotch tape serves as a spring retainer!
Basically it works, though I made a mistake and cut the cylinder shell too short making the snap washer loose, so the plug cylinder has to be held in position when withdrawing the key.


