JamMan Remote
Wireless Remote for JamMan Stereo Loop Pedal
Intro
My wife's vocal band uses a loop pedal for effects in their live shows. The pedal has 'stomp' switches, but this requires the performer to physically go to the pedal and use a foot each time the loop sample is recorded, played or stopped.
I decided to make a wireless remote for the pedal using some of the stuff I've learned at Hack Manhattan.
Hacking the Pedal
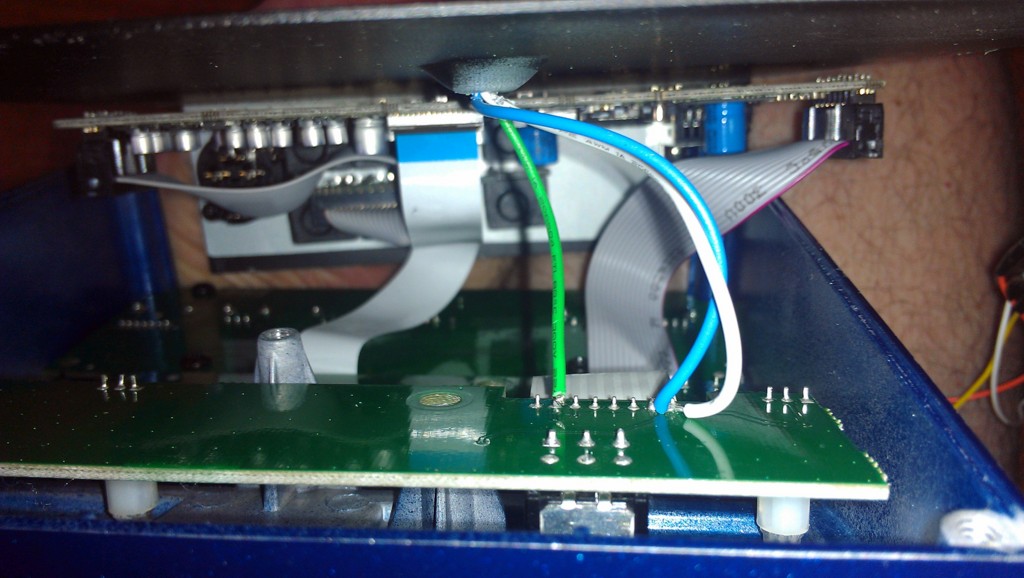
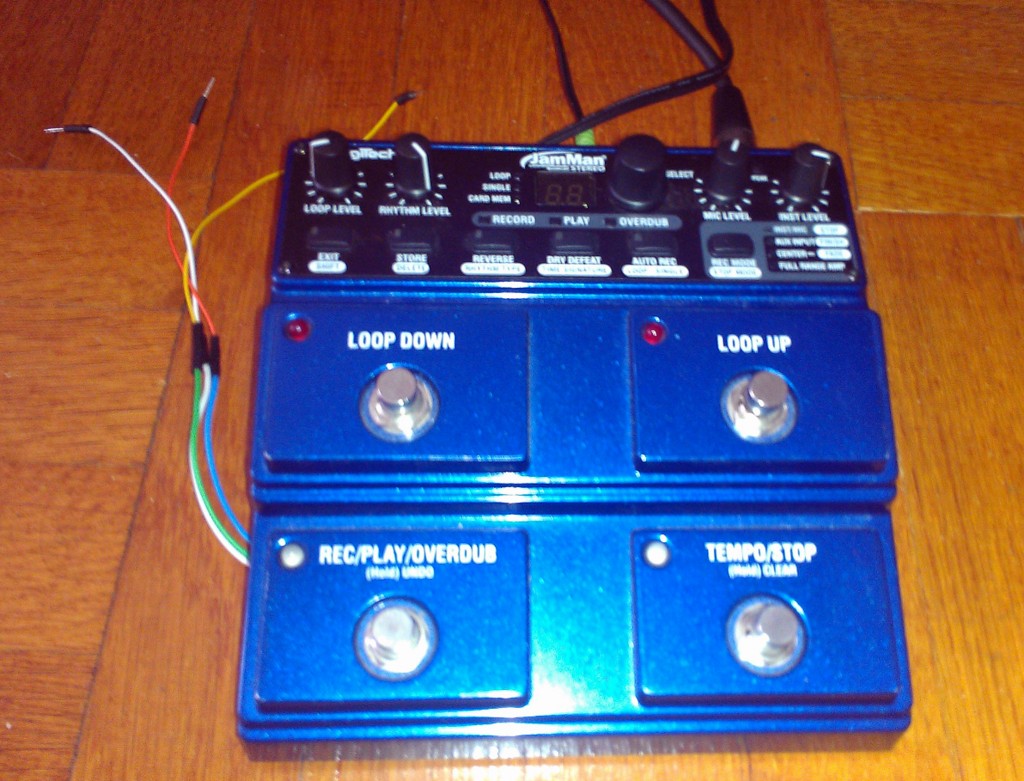
The Digitech JamMan Stereo has four stomp switches, which are connected to daughterboards inside the case. For the remote, I just needed to be able to control the 'Play/Rec' and 'Stop' switches. The signals from these, along with the power for the LEDs, are brought to the daughterboard by a ribbon connector. I used a multimeter to discover the correct connections - two of the contacts are from the respective switches, pulled down to GND by resistors. A third is 3V3 power from the pedal. I soldered wires to all three (white = 3V3), and brought them outside the box for interfacing with an Arduino:
Arduino Interface
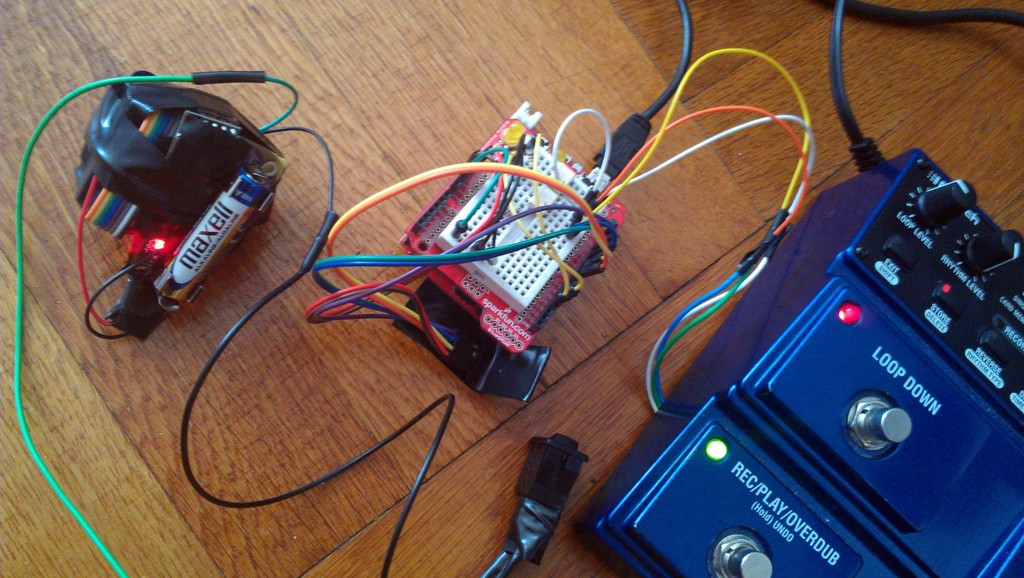
When either of the switch wires are shorted to the 3V3 line, a button push is registered by the pedal. It would be easy to use a simple transistor to control this shorting via a digital output, but I chose to use 4N33 optocouplers to electrically isolate the pedal from the Arduino, to avoid any noise creeping into the audio lines. Digital outs from the Arduino go to the LED side of the optocouplers (pins 1-2) and the 3V3 line and the respective button lines from the pedal are connected to the transistor side (pins 5-4).
The wireless radio part is handled using the excellent nRF24L01+ Wireless radio modules that Guan Yang talked about in the Electronics Study Group a few months ago. These do take up 5 digital pins plus two pins for power, but they are really easy to use, and reliable too. Guan Yang has written a portable library for these that can be used in Arduino sketches. One important point is that the modules MUST have a 3V3 power supply, and while the digital lines are 5V tolerant, 5V power will damage the module.
For the prototype, I connected everything to a Seeduino and a prototyping shield.
Wireless Remote
This is just a rocker switch, connected via a pulldown resistor to digital input 3 on an Arduino Nano, along with a second nRF24L01+ module. Power is provided using a LilyPad PSU, which is a small boost converter that gives 5V from a single AAA battery!
Arduino Sketches
Download here: File:Jamman stereo remote.zip


